Pages

Saturday, July 30, 2011

Sweet Surprise with Thanks

About a year ago, I remember reading on the My Scrapbook Nook (fondly referred to as the Nook) forum, a thread where someone was expressing frustration that some of their favourite layouts receive few comments.  What stuck with me from that thread, was a super talented and successful scrapper saying that some of her favourite layouts created received the least amount of comments.  Someone else added that that goes for those that get picked up for publication.  Sometimes it is the ones that they least expect that make it.  It was around that time that I started to submit some layouts for publication and this little tidbit of wisdom has been invaluable in not taking nonresponses personally.  So after a year of submitting work and having a fair amount picked up by various publications, that piece of insightful wisdom has come to fruition.  After a round of submissions, two of my absolute favourites were not picked up so I finally posted them both here on my blog over the last two weeks and in my galleries.


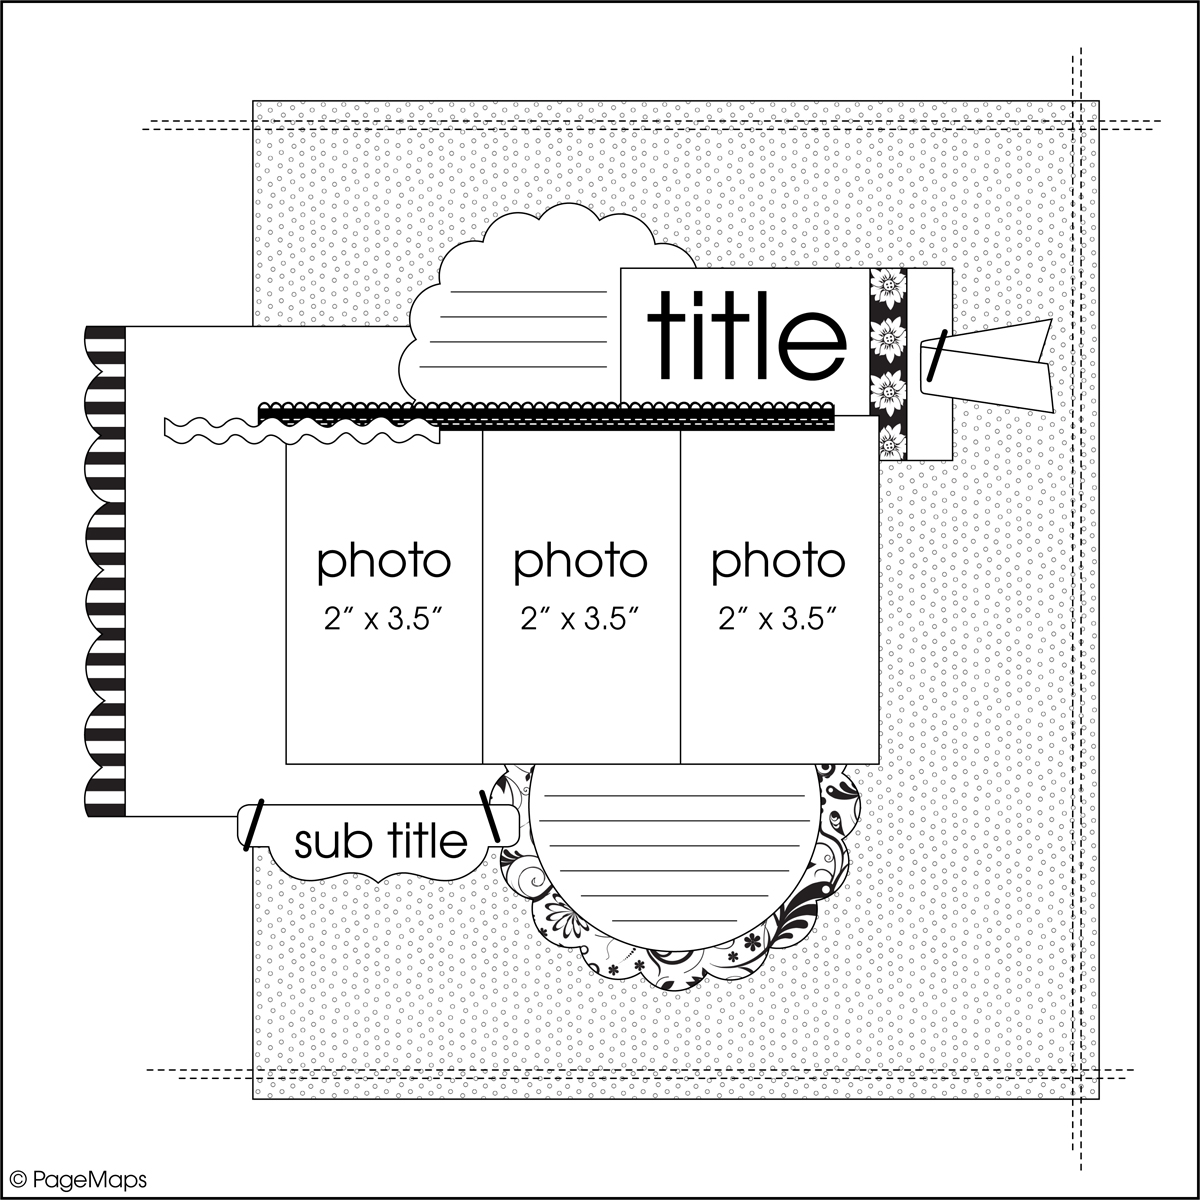
Like others, it doesn't take much to bring a smile to my face when someone says something nice about my work.  The layout of the week over at the Nook is posted each Friday.  I happened to check it out today, Saturday, and imagine my pleasant surprise to see one of said layouts posted.  I am honoured.  I do not know how the DT chooses just one as the Nook gallery is unbelievably bursting with superb layouts of all styles.  The irony is that, in Hilde's rationale for choosing "Jake -Perfect Tween", she describes to a T the things that I loved most about it.  She totally understood it and that little bit of validation made my weekend.   For that Hilde and for all the ladies who took the time to leave comments.  I thank you.

A funny little aside about that MME So Sophie paper used in that layout.  When I had proudly showed my then 10 year old daughter (my biggest supporter and thoughtful constructive criticism giver) the finished layout, she was a little put out that I had used that pretty paper on my nephew and not her as she loves those colours. LOL!

TTFN,

Friday, July 29, 2011

For the girl that has everything

I love gift giving and finding just the right gift for the receiver.  For the most part, a large part of Canadian's have wants over needs and the dilemma becomes giving a gift that a person will like and use.  It becomes even more of a challenge when people can readily purchase most things that they want.  So what do you do for the girl who essentially has everything?

Of late, I tend to do gift cards for a store that they love but I also like to give something small with it.  I will be celebrating a friend's birthday in the next week and I have come up with my small something.  It is something that my friend uses and need... cards.

I am going to make a bundle of 5 cards for various occasions.  I often make cards from the product scraps of layouts that I am working on (less to clean up and a good way to use up scraps). Since I have been scrapping with Pebbles this week and have lots of scraps sitting on my table, it naturally became the product of choice.  Here is my first installment card:

Supplies: patterned paper, chipboard, dimensional stickers (Pebbles), punch (Fiskars), ink (Colorbox), jewels and thread (miscallaneous)
I used the Floral Lane papers, chipboard and dimensional stickers for this one.  I really like the texture of the Floral Lane papers.  They are quite lovely.

Look for more cards to appear on my blog over the next week or so.

TTFN,

Fun embellishment discoveries with Pebbles

The Happy Go Lucky line by Pebbles Inc.is so playful, and apropos for these fun photos of my daughter and one of her copius Littlest PetShop Pets.  She has always had such a spunky spirit and, par usual, she is certainly not camera shy.


Supplies: patterned paper, felt embellishments, ribbon, twine (Pebbles Inc.), gltter chipboard letters (American Crafts), flocked letters (Prima), eyelets (Zision), felt (Michael's), pen (Sharpie), chalk, denim and thread (miscellaneous)


In making my pieces of art, I continually enjoy experimenting with techniques and it is no different with this layout.  I discovered several new things during its' creation. 

Firstly, felt can be re-coloured with chalk.  I changed one of the button felt backings to green from a turquoise blue to better match the layout.

Secondly, when you do not have the right size of flower but you do have ribbon, create the right sized flower with the ribbon.
Here is how I made the Pebbles Ribbon and Felt flower:
Materials: Ribbon, felt, button, floss, hot glue gun and glue, cardstock, circle punch/diecut/ scissors

1. Cut a 1” diameter cardstock circle for the base.  Cut 6 pieces of the polka dot ribbon 10 dots long.

2. Slide one end of the ribbon on top of the other ensuring that the back of an orange polkadot shows at the top of the ribbon petal fold and place a dab of hot glue between the ends to hold together.  Repeat 5 more times for a 6 petal flower.

3. Hot glue the ribbon petals onto the cardstock circle base at even intervals.

4. Cut a 1 1/8t” (2.8cm) diameter circle from a piece of felt.

5. Pick a button and thread it with embroidery floss.

6. Glue both the felt circle and button in the centre of the flower.

Thirdly, I wanted to use denim to tie into my daughter’s denim hat bill penguin perch.  The use of fabric is a scrapbook trend that continues to grow.  Canvas is still hot but making a comeback is denim.  This can be seen in some denim look patterned papers and products coming out of this summer’s CHA releases.  So do not ditch your family member’s worn out denim, instead repurpose your old jeans by scrapping with them.  Here I show how to make the denim tags from my layout.  An added bonus is that they used up some eyelets from my stash!  

Denim tags:
 
Materials: old jeans, scissors, sewing machine or needle and thread, eyelets, Crop-a-dile or hole punch and setter

1. Using a piece of denim from a pair of discarded jeans, begin with a guide cut.
2. Pull the fabric apart at the guide cut section to produce a straight yet fringed line.  Repeat approximately 1” inch over to create an even strip of torn denim. Cut at 1 ½” intervals in length.

3. Stitch around the edge of the rectangle and tie off at the back of the piece.

4. Make a hole at the top of the tag.

5. Place an eyelet through and crimp to secure it in place.

6. Embellish and adhere as desired.  I placed part of my title on it and used the Pebbles twine to string the series of tags.
If you give any of these techniques a try, be sure to link back to the comment section of this post.  I would love to see what you create.

TTFN,

Wednesday, July 27, 2011

Pretty perch... of the human kind

A couple of weeks ago, I was sitting at the local municipal pool while my daughter was having her swimming lesson, when it dawned on me that the folding chair I was sitting on would be a fun thing to personalize and alter.  So I gave it a go.


Supplies: patterned paper, ribbon, felt embellishments (Pebbles), modge podge (Plaid), font Cooper Black, hot glue, thread (miscallaneous), folding chair (Loblaws President's Choice)

To make it more weather resistant, I modge-podged both sides of the paper for both the background and the leaves.  I adhered it with hot glue and hand stitching using a curved embroidery/apolstery needle.  I kept the rectangle size such that by centring it fits naturally in the chair's fold zone for bag storage.

I love, love , love the results! Apparently this experiment rates highly with my daughter's approval and has thus raised my coolness factor (for the present time at least,LOL!) as she wants me to make one for her now.

TTFN,

Sunday, July 24, 2011

PageMaps July Sketch Challenge

This month Becky Fleck has not one but two sketch challenges for July over at PageMaps.  This one was a great sketch sponsored by Punky Sprouts that I have scrapped before and just as there are always so many different takes on a sketch, I too have a vastly different take this time around.


This one had the added fun of being scrapped at the cottage which means I am left with the supplies on hand as opposed to a fully stocked scrap room.  I had my yet untouched June 2011 Nook kit featuring Lily Bee Picket Fence and a small scrapping supply stash.  In addition, I used supplies that are readily found at our cottage...aluminum foil, a tea cup and saucer, birch bark and freshly taken photos of my daughter.  Add the use of scissors and some punches and this is the result.

Supplies: patterned paper, letter stickers (Lily Bee), chipboard letters (American Crafts), border punch (Recollections), Glimmer Glazes (Tattered Angels), butterfly punch (Martha Stewart), ink, cardstock (CTMH), pen (Staedtler), tea cup and saucer, birch bark and aluminum foil (miscellaneous cottage items)

Recalling the use of tin foil on the Scrapbook and Cards Today Blog, I was inspired to give it a try on my layout by border punching  it without the benefit of double sided adhesive.  {**Design Note: foil is very fragile and patience is required to slide it along in the punch and when creating gathers to fit the circle shapes.}  I had pink and teal Glimmer Glaze and after a little colour experimenting, I was able to create a mauve that worked.  I traced the tea cup and saucer to give a wavy shape to both circles and adhered the foil once dry behind it.  We have a vast supply of birch bark due to a tree coming down this spring and here I thought to experiment with a butterfly punch.  It worked marvelously and thus the addition of the birch bark butterflies which coordinates with the title colouring.  A little inking, sewing and journaling et voila! A very unique layout!  Lovin' the results!


TTFN,

Saturday, July 23, 2011

Playing with some Pebbles

Sometimes I just do not know where a layout is heading but love the end result of the process.

Supplies: patterned paper, chipboard, dimensional stickers, twine, trim, packaging (Pebbles Inc.), chipboard letter stickers (American Crafts), marker (Sharpie), border punch (Fiskars), pen (Staedtler), jewels and floss (miscallaneous), birch bark (a little piece of Muskoka, Canada)
For this layout, I started with some Pebbles Floral Lane products and Happy Go Lucky Trim and a adorable photo from my pre-digital era of my daughter at 15 months old.  I had a rough sketch drawn out with an idea to use a bunch of journaling chipboard and sticker tags along one side, a few paper strips, a floral cluster and a machine stitched border.  Once I got that part lying on the paper, I was like ...okay what next? Here inlayed the problem... I was at the cottage and thus only had a small bunch of supplies on hand.  And just as the saying goes... necessity breeds invention... a little improvising was called for. Not the right colour of letter stickers, re-colour them with a Sharpie marker.  Do not have the right size or font lettering, hand draw and stitch the letters. Machine sewn border not showing up against the paper because the thread is too thin, rip it out and hand sew a running stitch with embroidery floss.  I even incorporated a little bit of the cottage by trying out a border punch on some birch bark.  It works really well and thus it along with the adorable Chips packaging made its way onto the layout.

So here’s to the creative process and scrapping at the cottage... the results are well worth it!

TTFN,

Friday, July 22, 2011

MME Layout Challenge # 25

My daughter and I love jet planes and love to go to the Airshow.  Here I was able to capture her joy and the celebratory feel in my take of the MME Blog Layout Challenge # 25 showing my daughter celebrating the fly over arrival of not one but two F-18 Fighter Jets.  An added twist to this story was that it was a wife and her husband as pilots of each plane.  Oh! Happy Day indeed!


Supply list can be found here.
I had fun playing with this one.  I made a few changes to better fit my photos and the little birdie's direction as I have really enjoyed this Fine and Dandy line and have only a little bit left of it.  This one includes lots of sewing, a border punch and hand journaling.

TTFN,

Monday, July 18, 2011

Jake's turn


I am fortunate to have a hugely supportive extended family on my husband’s side. They all know about my passion for photography and scrapbooking.  I often scrap into the wee hours when we are at the cottage all together.  The kids are genuinely excited to see what I have made in the morning.
Besides my daughter, you will often find my nephew and nieces as the stars of my pages and projects. We do a lot of family activities within each month and thus the cousins enjoy spending time together.  This gives me great opportunities to catch the goings on in photos. My Twilight Beauties layout featured my daughter and nieces.  When it was lucky enough to appear on the Scrapbooks and Cards Today blog my now teenage nephew, God bless him, even left a super sweet comment on the SCT site.  For today's post, I am sharing a layout that I made of him from his tween years.
Supplies:
PP, die cut PP, die cuts (MME), chipboard and fabric letters (Thickers - American Crafts), 11 Ransom mask (Tim Holtz), Glitter mist (Tattered Angels), ribbon (Webster's Pages), buttons (MM), floss (Moulin), jewels (Darice) and pen (Staedtler)
Made from the June 2010 Nook kit featuring MME, it has mist masking and lots of distressing to create a masculine feel out of the papers.

TTFN,

Thursday, July 14, 2011

Scrap Happy Day!

I woke up this morning and while enjoying my morning tea I thought I would check the Get Picky site for their Inspiration Challenge #9 winners as due to different time zones (it is an Australian site) they post while the eastern part of North America is sleeping.  Talk about starting the day on a high!

Get Picky

While sending in some publications submissions, I got to thinking that the Twilight Beauties layout and I sent if off to Scrapbook and Cards Today on the off chance that it might make it into a Reader's Submission post this summer.  Imagine my surprise when Catherine Tachdjian emailed me back!!! A whole lot of whoo hoo and my daughter came into the kitchen to shush me as apparently my DH was on the phone in another room and had made a displeased face. (Doesn't the man know that it is very exciting to have a layout featured?) Definitely not excitement to be contained, let me tell you. 

Scrapbook and Cards Today Magazine

Is it any wonder that it was a scrap happy day for me today?

What better way to top off this super happy post then with a little scrappy eye candy goodness?  Here is a layout that I made awhile back from a Nook kit (August 2010) but had not posted. 

Supplies:
PP, diecut stickers, die cut border strip (Sassafras Lass), flowers and felt (Prima), love definition stamp, ink, and pink CS (CTMH), black CS (Bazzill), ribbon doillies (Basic Grey), fabric chipboard letter stickers (American Crafts), glitter mini alphabet (Making Memories), butterfly (Recollections), jewels (Heidi Swapp) and pen (Creative Memories)
This is one of my all time favourites.

TTFN,

Wednesday, July 13, 2011

Get Picky has done it again!

The ladies over at Get Picky have done it again with a gorgeous inspiration photo for their June Inspiration Challenge #9.  This time it was the movie poster for Sex in the City 2.  It offered such fabulous shimmery colours that I went with that feel in my layout.

Supplies: patterned paper, artisan frames, notes, corrugated shapes (Pink Paislee/House of 3), Tim Holtz Distress inks (Rangers), Glimmer mists (Tattered Angels), glitter chipboard letters (American Crafts), glitter sticker letters (Making Memories), metal trim (Webster's Pages), floss (DMC), glitter pen (Sakura)
Journaling reads: Squeezing out every last bit of a gorgeous day with an after dinner sunset swim.

I had a chance to use some Tim Holtz Distress inks on the Pink Paislee/House of 3 Parisian Anthology resist papers for this one.  Not to mention Glimmer mist and the sparkly trim from Webster's Pages.  To finish of the glam, I used 2 types of glitter title lettering and a glitter pen for journaling.  Another layout that pushes the playing with techniques envelope with fun results.

Here is the actual movie poster so that you can see what I mean.


Be sure  to check out both the DT takes and the marvelous entries.  Lots of eye-candy to be had for certain.

TTFN,

Monday, July 11, 2011

Get Picky Inspiration!

When this was posted at Get Picky in April, I thought neat colour combination and inspirational photo. 


I especially loved my Nook friend Carol Manson's take "10 in 2010"!  At the time I thought I did not have any photos that would work with the combo.  Then recently, when I was looking through my last 2 1/2 months photos, I can across my quickly taken photo of my dd before heading off to school for Crazy Hair and House Colour Spirit Day.  Taken on the morning of the Royal wedding, I missed both kisses as I was retrieving hairspray during the first one and then more butterfly clips on the second one, as I created her requested hairstyle. 

Supplies: patterned paper (Heidi Swapp, Lily Bee), cardstock, Ink and liquid glass (CTMH), glitter chipboard and foam letter stickers (American Crafts), wht glitter letter stickers (Recollections), blue glitter (Art Accents), punches (Fiskars, Stampin' Up), glimmer mist (Tattered Angels), floss (DMC), pen (Sharpie), misc. yellow Post Its, foam for banner stamp

This year it was to be Trollz hair.  The straight on frontview photo does not do the height of the hair justice and in my rush to get to school, I didn't get a side shot.  On the bright side, I did at least get this one fun photo that I cropped both vertically and horizontally and the colours worked perfectly for the combination.  I used 2 2x3 copies of the horizontal one on each side of the 4x3 vertical one. 

So in the end, I was lucky to be able to get a great layout totally inspired by the photo design, using a colour combo that I would not have likely have used on my own and I got to use up some of my stash.  Thanks Get Picky for inspiring me once again to create a layout that I love!

TTFN,

Tuesday, July 5, 2011

Finally!

I finally got through the nuttiness that was June at school!  I can now get back to my scrappy endeavours as summer vacation hits.  I have 3 Nook kits that I haven't had a chance to touch yet and oodles of ideas so I am looking forward to evening scrap sessions in my scraproom!

As for a little sharing, check out the Summer issue of Scrap Street Magazine.  My friend Stacey has the cover {Huge congrats girl!}! She is so uber talented!  I have a fun summer layout on page 12 (second one down) made with the July 2010 Nook Kit featuring Lily Bee's Hello Sunshine. 


Also some of my other Nook friends have their fabulous layouts gracing the following pages:
Petra page 4, Pam page 8 & page 11, Diana page 9, Nicole & Elizabeth page 19, & Leah page 22.

Way to represent girls!

TTFN,